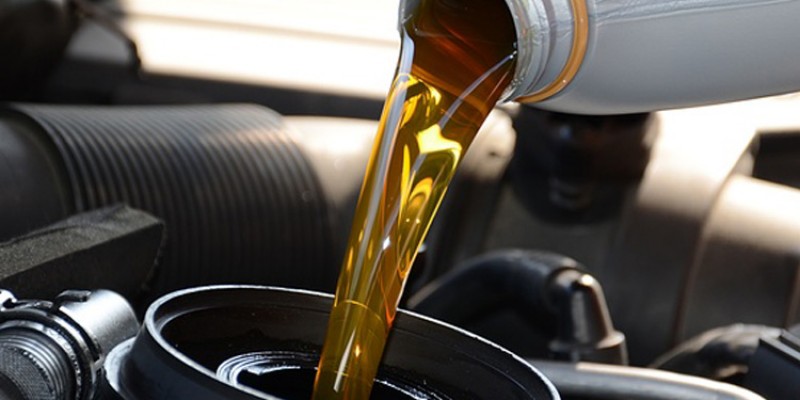
How To Change Your Engine Oil in 5 Steps
Learning how to change your oil is a fairly simple and straightforward task. You do not need to be an ASE certified mechanic or need vast automotive knowledge to successfully change your oil. The only thing you are doing when you change your oil is removing and replacing 2 things - the engine oil and the oil filter. In some instances, the oil drain plug gasket might need to be replaced.
Regardless, all of the above can be replaced quite easily with minimal effort. Before getting started on learning how to change your oil, make sure you have all the supplies and the tools you need to complete this job. Start by referring to our Oil Change Checklist to be sure. Once you have everything we need, you can get started with the oil change.
Before getting started, make sure that the engine has been running for a few minutes. Engine oil gets thicker as it cools. So, running the engine for about 10 minutes will help thin the oil so it will flow and drain better. This way you get more of the old, nasty oil out of the engine when you drain it.
Step 1. Prep the work area
In this step, you are basically getting prepared to start changing your oil. If you are not working in a garage, find a nice level spot in your yard. If you choose to use car ramps instead of jack stands and a jack, then go ahead and place the ramps directly in front of each of your front wheels and pull your vehicle up onto the ramps.
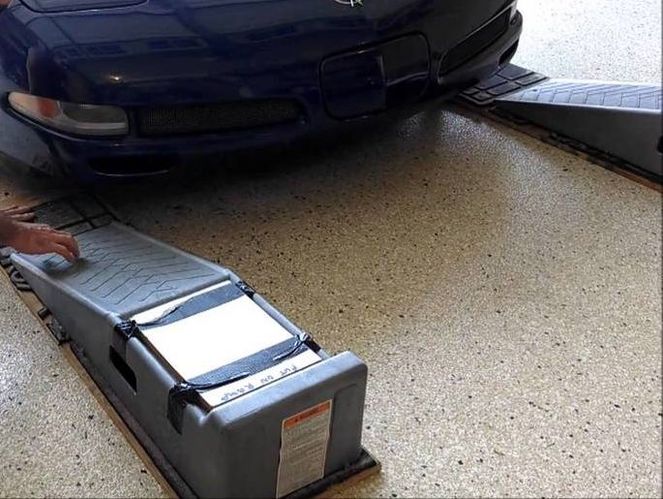
Make sure your wheels are lined up properly before pulling your car up on ramps.
If possible, have someone standing in front of the vehicle as you drive up the ramps to be able to alert you in case the ramps need to be realigned before you drive up them. Once your wheels are sitting in the grooves in the top of the ramps, put your vehicle in park, shut it off and put on the emergency brake for extra security.
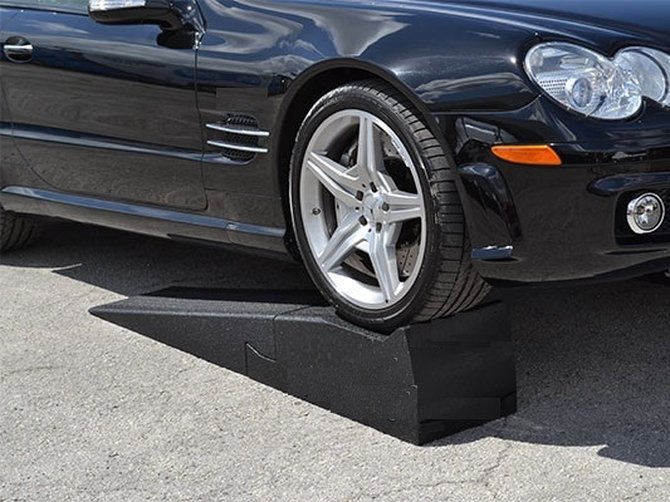
It's always a good idea to block your rear wheels after pulling your car up on ramps.

Step 2. Secure the Vehicle
Regardless of whether you use jack stands or use car ramps, it is always a good idea to make sure your wheels can't move while you are working, especially when you are under the vehicle. To start securing the rear wheels, place a wheel chock behind each of the rear wheels. Go ahead and give the chocks a light kick to wedge them firmly into place.
If you don't own or have access to wheel chocks, you can substitute with bricks or blocks. It's better to at least have something in place back there to keep your vehicle from rolling.
If you don't own or have access to wheel chocks, you can substitute with bricks or blocks. It's better to at least have something in place back there to keep your vehicle from rolling.
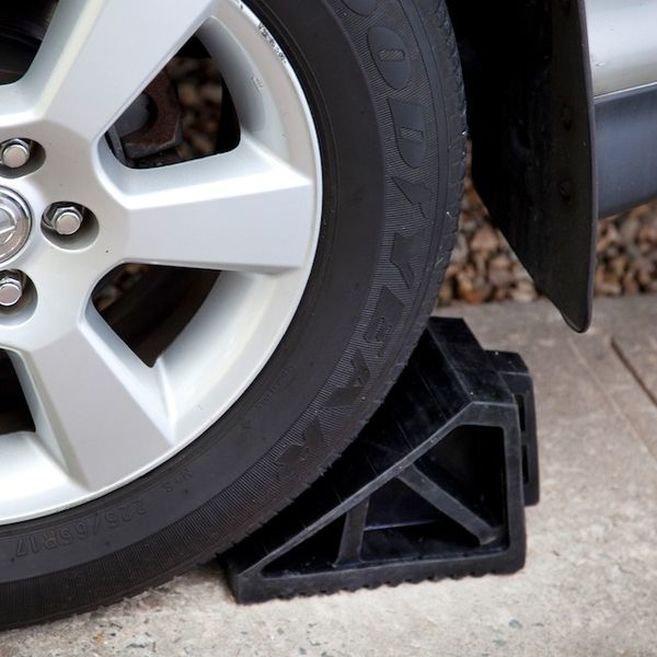
Using wheel chocks is an effective way to keep your vehicle from rolling.
If you are using jack stands, go ahead and find an area of the frame in the front of the vehicle, center the jack and start raising the vehicle. You will need to jack the car up high enough to get the jacks stands under the frame rails on each side of the car.
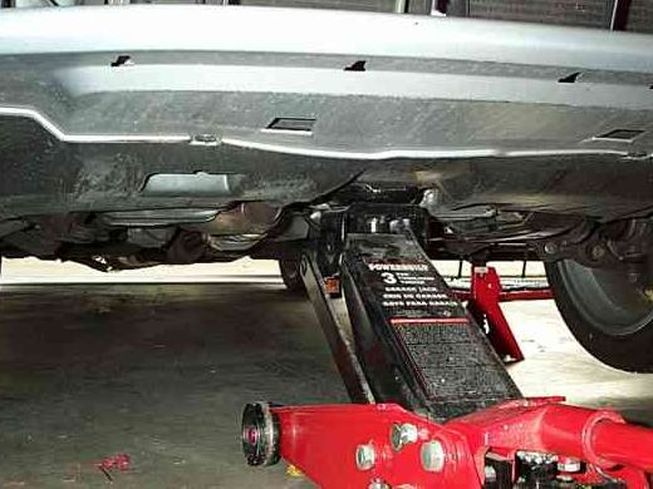
Jack up your car enough for clearance for your jack stands.
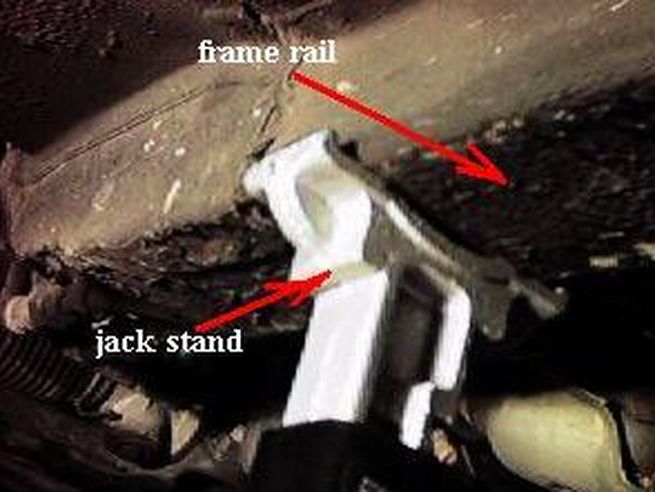
The frame rail of your vehicle is the best place to secure with jack stands.
Once you have enough clearance, place a jack stand on each side of the car directly under the car frame rails. Make sure that the jacks stands are lined up with each other and then slowly release the jack until the car is seated firmly seated on the stands. Give the car a slight push or two just to make sure that the car won't move before getting under it and starting your task.
Step 3. Draining the oil
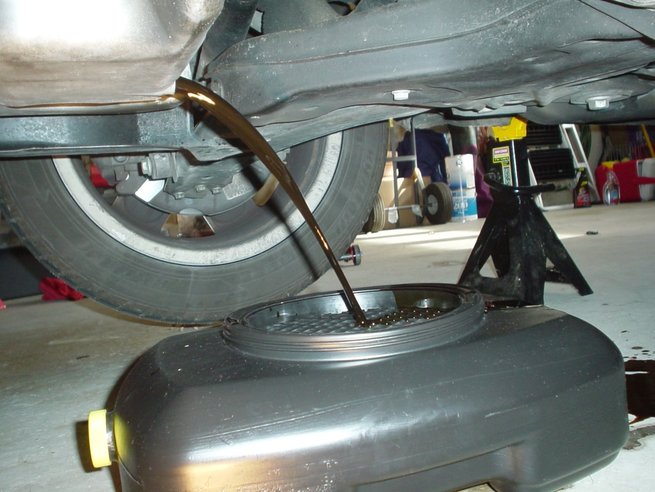
Now it's time to get to work. If you have any plastic - a garbage bag will work just fine, now would be a good time to take a piece and place it on the ground directly under the oil pan. This will help to catch any oil that may not make it to the oil catch pan when you start draining the oil. Next, place your oil catch pan directly under your car's oil pan. It will be the pan under the engine with a bolt ( oil drain plug) in it.
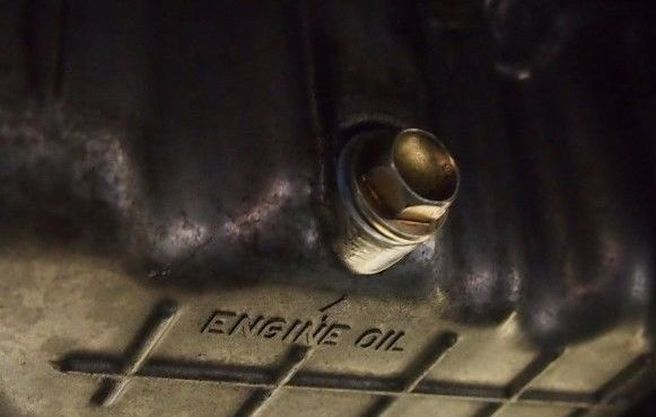
Access the engine oil pan plug to drain your engine oil.
Let your engine oil drain completely before installing the oil drain plug.
Find the right size socket or wrench, and remove the oil drain plug. Once the oil starts to flow from the oil pan, let it completely drain from the engine. If you are also changing the drain plug gasket, go ahead and replace it and put the drain plug back into the oil pan.

Step 4. Replacing the Oil Filter
Replacing the oil filter is fairly simple. However, these can be difficult at times to find, and get to, in some cases. But regardless, it needs to be removed. So, locate it now. Once you locate the oil filter, go ahead and move your oil catch pan into the space directly under the oil filter.This will help catch the oil that will drain out once you remove the oil filter.
See if you can access the oil filter by hand, then try and turn it to see if it will come loose. It may start turning, but more times than not, you will need to use the oil filter wrench to remove it.
See if you can access the oil filter by hand, then try and turn it to see if it will come loose. It may start turning, but more times than not, you will need to use the oil filter wrench to remove it.
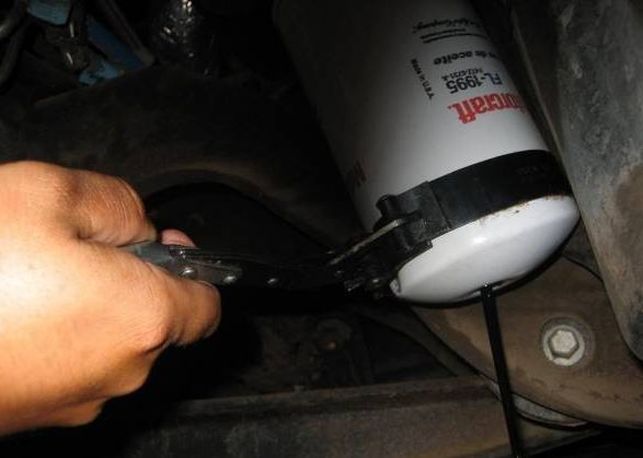
One or two good turns with an oil filter wrench should be enough to loosen up the filter where you can finish removing by hand.
Take your oil filter wrench, place it on the filter and give it a good turn. That should be enough to loosen it. Now turn the filter by hand until it comes loose. After you have the oil filter off, wipe the old oil off area where filter was.
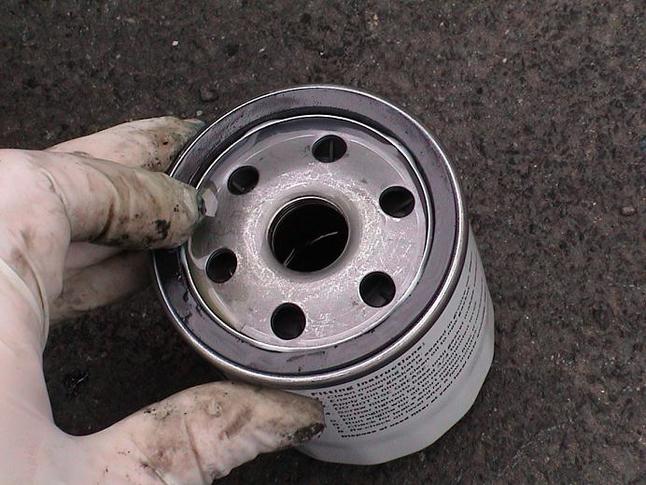
Applying new oil around the oil filter gasket helps the filter seal properly when installed.
Before installing the new oil filter, take a little bit of new oil and coat the rubber gasket on the oil filter. This will help make sure it seals properly during installation.When you put the new oil filter on, DO IT BY HAND ONLY!! Don't use an oil filter wrench to tighten the filter. You don't want to overtighten the oil filter because you could damage the gasket and cause an oil leak. Plus, it can create problems for you the next time you change your oil. Check out the video below to see why you don't want to overtighten your oil filter.
Before installing the new oil filter, take a little bit of new oil and coat the rubber gasket on the oil filter. This will help make sure it seals properly during installation.When you put the new oil filter on, DO IT BY HAND ONLY!! Don't use an oil filter wrench to tighten the filter. You don't want to overtighten the oil filter because you could damage the gasket and cause an oil leak. Plus, it can create problems for you the next time you change your oil. Check out the video below to see why you don't want to overtighten your oil filter.